Friday, December 1, 2017

Fingerless Gloves Pattern


Fingerless Glove Pattern

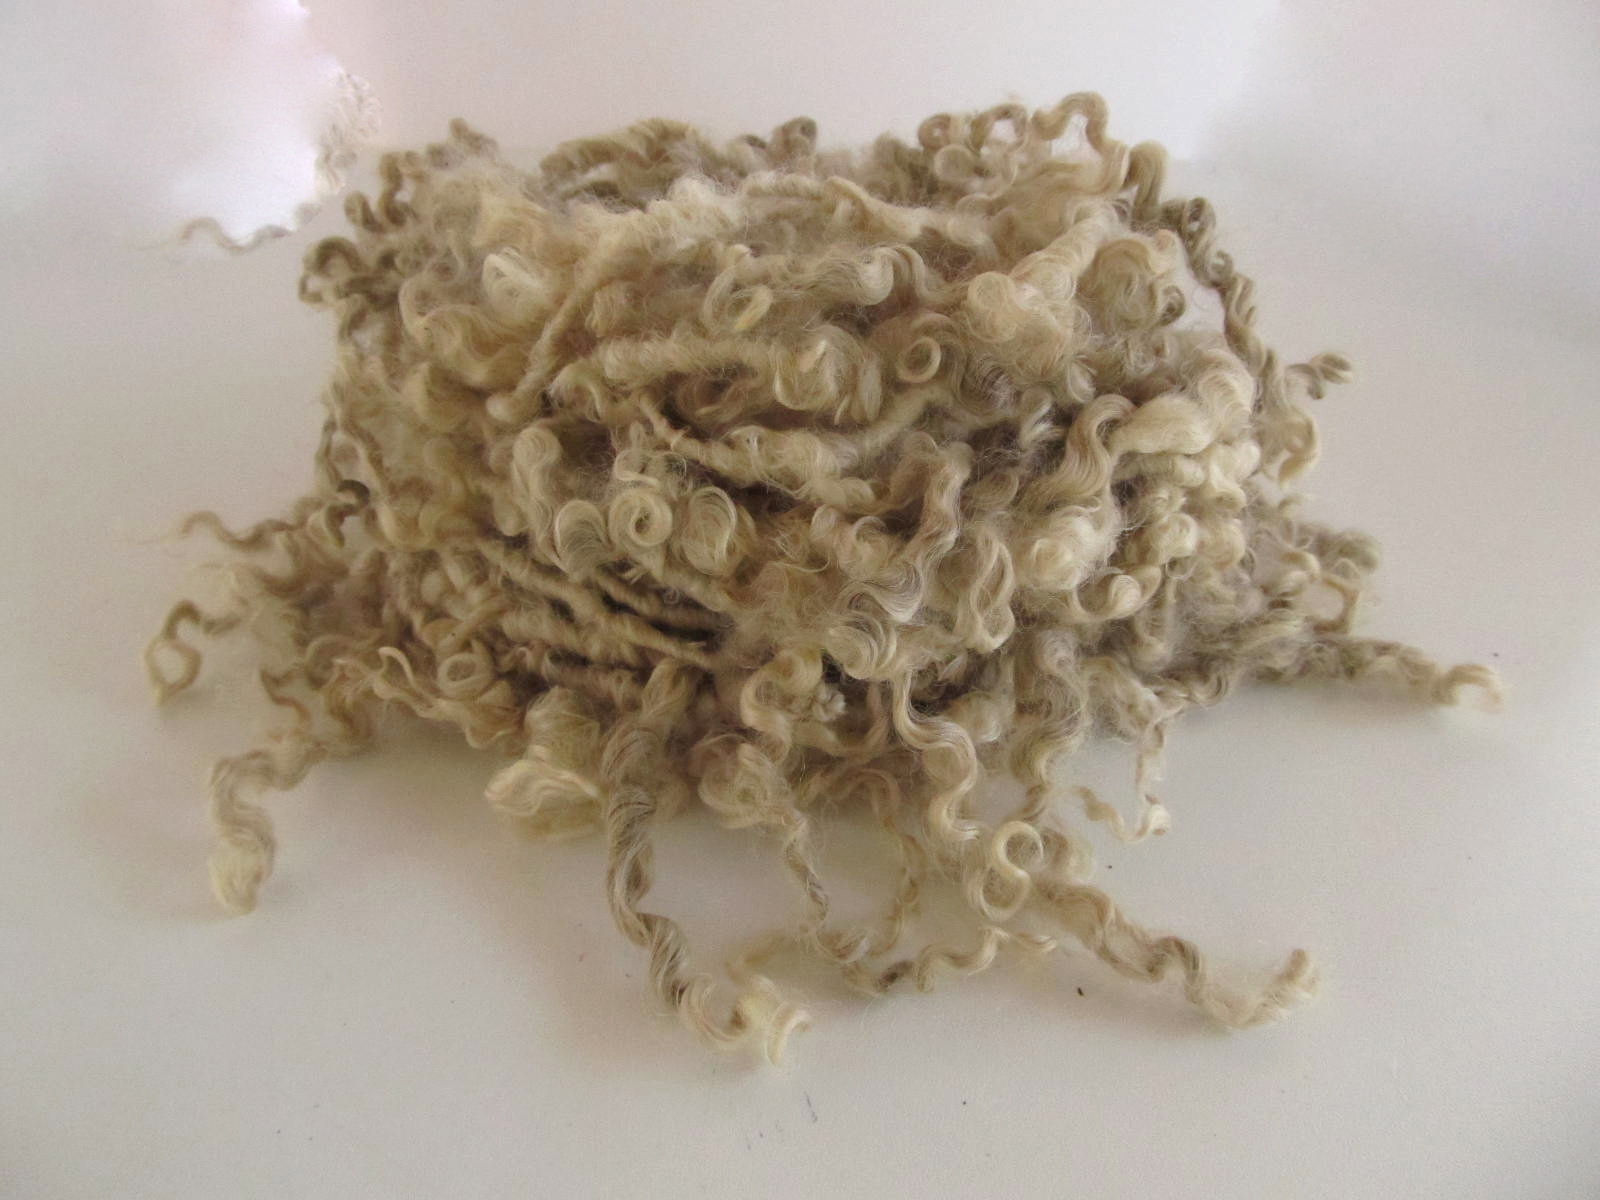
Notes about my handspun art yarns:
Most of my yarn have dimensional design elements. These elements are best displayed on the front of knitted work by either purling or putting the design element to the front of the work and then knitting the next bit of yarn through the back of the stitch. This way all the design elements will easily pop to the front of the finished work.

Always make a swatch of combined yarns before committing to project.

Materials:
(estimated minimum yardage)
18yds chunky dimensional yarn (cuffs)
40yds thick n thin (glove body)

Needle size: 

US9, US10 DPNs depending on your gauge

Stitch notes:
M1 - my increase preference for thumb gussets is to lift the left leg from the stitch below the last knit stitch (right needle) and place it on my left needle so it looks like a new knit stitch. Another way to say this is that I insert my left needle from the front to the back into the left leg of the stitch below the last stitch I knit (right needle). Then I knit it.

Bind Off Purlwise - I like to purl the first stitch, make a loop on my right needle, purl the next stitch.  Pass the first stitch and new loop over this last stitch made on the right needle.  *Make a loop, purl the next stitch, pass the first stitch and new loop over the last stitch.* Continue with ** until you reach the end. Join in the round. Cut yarn leaving a 6” tail.

Begin:

With chunky dimensional yarn, cast on 18 stitches using your preferred method. Divide stitches evenly onto 3 DPNs and join in the round. 

Cuff: Knit several K1, P1 rounds with knit stitches being knit through the back loop. Make the cuff as deep as you like.

Body: Change yarn to thick n thin yarn and knit 4 rounds. Begin increasing for the thumb gusset as follows: K3, M1, knit until the last 3 stitches, M1, K3. Knit next round. Repeat these two rounds until you have 10 stitches on #1 and #3 DPN. Continue knitting 4 or 5 rounds or until your work reaches just above the base of your thumb (you will need to try on your work in progress). Knit next round until the last 4 stitches, place last 4 stitches onto new DPN. Place additional 4 stitches from #1 DPN onto new DPN. There are now 8 stitches on new DPN for your thumb. Using I-cord method knit at least 2 rounds on thumb then bind off purlwise (see Bind Off Purlwise notes above). A ladder of unknit stitches will have formed on the thumb. Thread the 6” tail on to a tapestry needle and weave the tail down to the base of the thumb. WIth a crochet hook loop the tail and catch one bar/rung at a time to close this gap. The thumb base will be tidied up when you weave in the ends. Continue knitting the body of the glove until you reach the desired length (try on your work in progress). Bind off purlwise.

Weave in your ends taking special attention at the thumb/body intersection.


Thursday, September 28, 2017

Mixing It Up

I LOVE mixing up different yarn weights &; colors into one project. This keeps my attention on an individual project. Side note; I do like to have more than one project in process at any given time. And each project typically has more than one yarn involved. Judge, if you must.

A stash of yarn of any size is a red flag to me that I have bought to much yarn and it is time to make something. Since moving to Maryland I have purchased 11 skeins of fingering weight hand dyed yarns. I really made my selections with abandon. I love the colors in each skein.


To scale my yarn inventory down I decided I needed a pull- over vest to be my next project. Laying my hand dyed yarns out into a well lighted area I was able to choose color ways that worked well together. I selected four skeins for this particular project with the intention of making stripes. Two skeins are semi solid and two skeins are multi colored. I know that large swaths of any of these yarns will create pools of colors hence the decision to stripe.


As you can see I still unwittingly achieved pools of color. But I don't see them as too annoying because still there are breaks in the color via the semi solid stripes.


What I had not paid attention to was the gauge or the design of each skein. Each yarn, though labelled as fingering/sock weight, has different twist and ply. The tendency today is to purchase one skein of hand dyed  yarn with the intention of making a one skein project initially. Then to use the remaining yardage in a scrappy project like a scrappy pair of socks or a scrappy blanket. I love these scrappy style projects. But fingering weight socks, though an enjoyable make, I'm finding no longer fit into my wardrobe. I need thicker, denser socks.

From left to right is Kim Dyes Yarn Rustic Sock which is a plied yarn, DragonFly Fibers Pixie which is a single ply yarn and Copper Corgi Savannah Sock which is a tightly twisted plied yarn (the semi solid yellow and semi solid red).

Knitting Disclaimer - I am a continental knitter with loose stitches. The Rustic Sock provides excellent stitch definition, the Pixie has a good twist for a single and blossoms more once it is knit, the Savannah Sock has finer twisted plies making it a thinner yarn and has nice stitch definition … could have used a smaller needle size with this last yarn. I am using US3, 24" circulars for this entire project.

The vest pattern


 Initially, I had no pattern to follow; I was happy to knit in stockinette until it came to shaping the 'v' neck and arm holes. I found Veste Everst pattern after an introduction to Veronik Avery's designs (thank you Fruity Knitting Podcast). I like her design reasoning.  Though the pattern calls for  a heavier weight yarn and is actually a cabled project I like the basic design instructions.

I will post the finished project on Ravelry in the near future. The back has begun and I am playing a bit of yarn chicken with one of the skeins. We'll see what kind of magic can be used to work that out.


Thursday, April 28, 2016

Some More … Mori

Here is a little Mori purse to carry little special things. It does not always need to be carried around wherever you go; sometimes it likes to just hang around the home.


Beginning with a crochet circle and then adding a different yarn to grow the circle outward these darling goat locks, which had been spun into yarn, were anxious to be included. I think this is the perfect project for them. A bit more yarn to snug these locks in & I was  finished with one side of my little Mori purse.


The other side of my purse is crochet with one yarn spun from glorious fiber nuggets; so many colors and different fibers create a one of a kind yarn. It’s like a gypsy rhapsody.


So, there’s not a front or a back to my little Mori purse, just one side and the other side.

I made a long strap by loosely braiding favorite yarns together. And then to really finish off my little Mori purse a security device was crocheted using another glorious fiber nugget yarn, this time in lace weight. 


Sassafrass buttons from the woods make a perfect stopping point for this closure. But before we go, check out the custom wood burnt design.


Saturday, April 23, 2016

Another Favorite Project - #02 Bateau-Neck Pullover

Another favorite project that I am still knitting is the Bateau Neck Pullover sweater by Patty Lyons for Vogue. To keep somewhat with the pattern yarn requirements I spun up a blend of oatmeal BlueFaced Leicester wool and silk into a light chunky weight yarn. My original plan is to dye my finished sweater but as I have carried this project along to various knitting groups I get a  response mostly of ‘no, you can’t dye this...it’s beautiful just as it is!’ And it is very pretty the way it is. I’m so thankful to have other voices point this out to me. On the inside though I’m continue to imagine this project in a rhaspberry wine with just the very edges of the arms & waist bands dipped in a pickle green. Maybe I should make 2 of these: one in natural, one in my suggested colorway.


Handspun yarn is really interesting to make a garment; there are thick & thin parts of the yarn throughout. Overall, it creates a warm rustic wearable item. Because the fibers that I chose to blend are next to the skin soft these pullovers can be worn from Autumn to Spring.

This photo shows how my WIP with the piece in front blocked and the piece behind it not blocked.
It is knitted in the oatmeal BFL wool/silk blend, chunky handspun.


 And now for a light grey version and spun slightly more chunky….


It is a big ol' bundle of yarn

Close up showing off the blend of fibers


One Of My Favorite Projects To Make - The Lionberry Scarf

The Lionberry Scarf by Narniel of Endor

This project keeps my interest due to the changes in the texture and the knitted patterns that formed as my knitting progressed. I learned several new knit designs and I especially love the sort of circles that formed in one of the patterns. 

My Lionberry scarf is made with a very special skein of yarn that my daughter obediently picked up for me while she was in London. It is a beautifully hand dyed merino /cashmere blend from Eden Cottage Yarns. Victoria has one of THE best color palettes...I chose the steel grey because it easily coordinates with the majority of my wardrobe. 

This past year I have experimented knitting with sock weight yarns. Lionberry Scarf is one of the projects; I loved making and I love wearing it. I want to make another and probably I’ll want to make another still. 

I thought about other colors that would capture the patterns in this scarf; the color choices need to be kept light, I think, in order to preserve the visual texture. On hand, I had fibers in several shades of aquas and turquoises and greens and, just a bit of sparkly stuff. These got blended together with my hackles and finally became a handspun sock weight yarn. 
Aqua Gold


While these cool shades were being spun I thought about developing a colorway for the warm side of the spectrum. Rose gold is one of this year's ‘colors’ and I am smitten by it. There’s a little sparkly bit is this color too! Rose Gold


Tuesday, July 7, 2015

Not A Rectangle

Not A Rectangle


It’s starts with color and the combinations of color. The braided wool roving begins its journey here .Once my hands begin to draft out the fibers, breaking the colors apart, the journey takes the turn into adventure. And when that first bit of fiber leaps onto the leader strand it is already taking the twisted, artsy form that I had in mind.
A journey may have many segments and this braid of wool roving will continue to another great adventure after it has come off its bobbin. It has taken on a new form from its earlier self. Plied with another bit of spun wool it is now art yarn with lofty halos fluffing inbetween lengths of more common two ply spinning. And it is grand. Many would suggest the journey is completed. Others will want it to push on, to continue on to the next adventure. And so it has.


Many times journeys provide interaction with things that would have never come our way had we stayed still & put, as though we were finished. This art yarn, apart from being art, is adventurous. It has again transformed itself into something beautiful as it has made friends with other types of fiber, those which are different from itself alone, I can’t help but feel happy when I see how it has turned out. I hope its journey contiues on its happy path.


How it's made:
(special note: this pattern has not been tested, knit it at you rown risk. Please contact me if you have difficulties….apologies in advance)

US 11 or 13, 30" circular needles
Yarn 1: skein of LDY halos
Yarn 2: Sari silk ribbon
Yarn 3: Sari chiffon ribbon

Cast on 88 stitches with yarn 1
row 1: bind off 5 stitches, cut yarn leaving a 4"tail, add yarn 2 and knit to the end of the row
Row 2: bind off 5 stitches, knit to end of row
Row3: 2-wrap-drop-stitch to end of row (what? insert needle into stitch, wrap yarn 2 x's around needle & pull these 2 wraps through stitch. you will have twice the number of loops on your needle than when you started this row)
Row 4: cut yarn 2 (leave 3"tail) and use yarn 1 (I hold both yarn 2 & yarn 1 together and knit with these til the tail of yarn 2 is used up….then I keep knitting row like nothing's ever happened, yet, it has) This row is the second half of the drop stitch beginnings from the previous row; knit into 1 loop and let that 2nd loop drop off the needle. This creates a loooong loop.
Row 5: bind off 10 stitches, knit to end of row
row 6: cut yarn 1 leaving a 4" tail. add yarn 3 and bind off 10 stitches, continue to knit to end of row.
Row 7: cut yarn 3 leaving a 4" tail and use yarn 1, combining tails as in row 4, bind off 10 stitches, knit to end of row
Row 8: cut yarn 1 if necessary; you may be near the end of skein at this point. Use yarn 2 with the tail of of yarn 1, bind off 5 stitches, knit to end of row
Row 9: bind off 5 stitches, knit to end of row
Row 10: bind off 5 stitches, knit to end of row
Row 11: knit 
Row 12: cut yarn 2 leaving 8" tail and draw yarn through the last few remaining stitches on needle. Make slip knot to finish.
And you're finished!


Thursday, July 2, 2015

Journey Down The Flax Road

My Journey Down The Flax Road 

Merino, tussah silk & flax (MSF); Could this fiber combination make for something delicious as a WARM weather accessory? Lets start at the beginning:

My own special blend of Blue Faced Leicester (25%)/Bombyx silk (25%)/Flax (50%) has been sitting in time out due to my indecision as to how to spin it & what to make with it for over one year. This roving just feels so different than just a pure wool roving. I did myself a favor though by requesting this combination of fibers be blended through the carder 4x’s...

A slightly different blend of roving came along & I didn’t make it wait too long before I dyed and spun it. Here is the short version of my lessons learned:

The blend is merino wool, tussah silk & flax though I’m not sure of the %’s of each fiber. The 3 fiber roving is not blended much so each fiber type is easily defined apart from the others. Each fiber type will also capture the dye differently, giving the final dyed roving the appearance of multiple color tones.

The dye bath prep consisted of time allowed for the undyed roving to soak in a plain water bath for  at least 24 hours. I know this time in a bath is required for the silk to take dye. In the end I believe I got a bonus with the flax (cellulose fiber) as it also took the acid (for protien fiber) dye. I dyed the roving by handpainting multiple colors in a color repeat sequence, plastic wrapped then placed all in a pot to steam. 


Loving the results after the dye bath.

Now for the spinning. Ravelry quickly answered my distress call; only 1 entry in the yarn tab matched this fiber blend content and was by far the best help that any search could have offered. Sarcazm is an amazing note taker, incredibly organized and very thorough. She had spun this same blend. Through Ravelry’s message system she answered my multiple questions in exquisite detail. She helped make this spinning journey an enjoyable one. I love her description of ‘dried snot’ for the flax part of this roving becuase, yah, it totally looks like it (see the undyed photo above). 


 Pre-drafted roving


I managed to spin over 400 yards.

Based on Sarcazm’s info I chose to pre-draft the fibers a lot. I spread the fibers out so much that my beautiful coloring was now diluted. But I figured I would gain most of the color back once the spinning began and the fibers wrapped tighter against each other. The projects that I envision to be knitted or crocheted with this yarn are to be light in weight. Perhaps tiny crochet pieces joined together like a Sophie Digard design or, a simple large needle knitted scarf?

Backing up in time, I happily shared my results of the dyed roving with my dear neighbors. She declared that I was finished, the scarf was hanging in front of us drying on the clotheslinesaw the dyed roving, unspun, should be the finished scarf. I think she’s on to something, something that I’m going to attempt in the next few days that involves a sewing machine and silk organza. 


Let’s watch for watch for what happens next.